What to Expect During Professional Cabinet Painting
The step-by-step process for professional cabinet painting — from pre-project prep to final inspection — and what distinguishes a factory-quality result from a brush-on repaint.
By OOH! Editorial Team
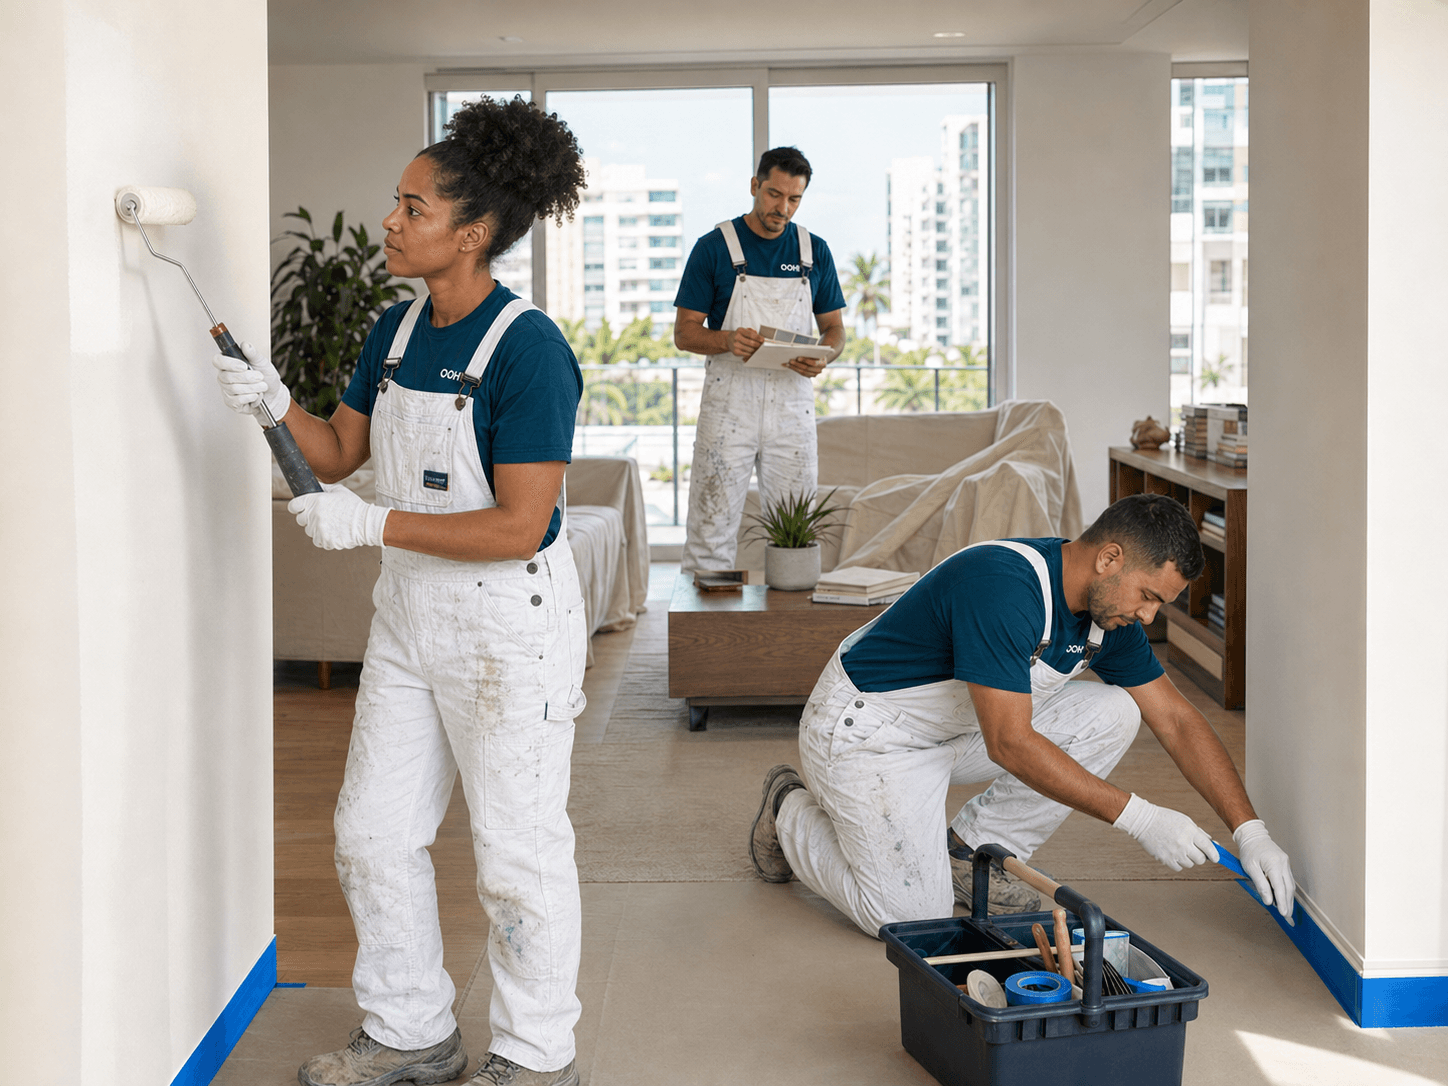
Professional cabinet painting is a more involved process than most homeowners expect — which is why the results look so different from a weekend DIY repaint. The finish quality that makes painted cabinets look factory-made comes from a specific sequence of preparation, priming, and spray application steps that can't be shortcut without compromising the outcome. This guide walks through exactly what that process looks like, what you should prepare before the crew arrives, and what to expect during the project and after.
The step-by-step process
A professional cabinet painting job follows a defined sequence. Here's what each stage involves:
1. Pre-project evaluation
Before any work begins, the contractor inspects the cabinet material (solid wood, MDF, particleboard, thermofoil), the current surface condition, and any existing finishes. This determines the primer system, prep requirements, and whether painting is the right solution at all for the specific cabinets. Thermofoil doors that are actively peeling, for example, are typically not good candidates for painting.
2. Hardware and door removal
All doors, drawer fronts, and hardware are removed. Doors and drawer fronts are taken off-site or set up in a separate work area for spray finishing. Working on flat surfaces in a controlled environment produces a better result than trying to paint doors in place. Cabinet boxes (the frames and sides that remain attached to the wall) are masked and painted in place.
3. Degreasing
This step is critical and non-negotiable in a kitchen. Years of cooking create an invisible film of grease on cabinet surfaces — especially near the stove and directly above it. Paint applied over even a thin grease film will not bond properly. Degreasing is done with a commercial cleaner designed to fully remove contaminants from wood and painted surfaces.
4. Sanding and surface preparation
Sanding creates mechanical adhesion — it gives the primer something to grip. The level of sanding required depends on the existing finish. High-gloss lacquer needs more aggressive abrasion. Bare or lightly finished wood may need less. Any imperfections — dents, scratches, edge damage — are filled and sanded smooth at this stage.
5. Primer application
A bonding primer or shellac-based primer is applied to all surfaces before topcoat. Primer seals the substrate, improves topcoat adhesion, blocks tannins (which can bleed through lighter paint colors), and creates a uniform base for the finish coat. Skipping primer, or using a low-quality primer, is the primary reason cheap cabinet paint jobs fail.
6. Spray topcoat
The topcoat is applied by spray — typically an HVLP (High Volume Low Pressure) system or an airless sprayer with an appropriate tip for cabinetry-grade enamel. Spray application produces a level, brush-mark-free surface that is not achievable with a brush or roller. Two topcoats are typically applied with adequate drying time between them.
7. Hardware reinstallation and final inspection
Once topcoats have dried sufficiently, doors and drawer fronts are rehung and hardware is reinstalled. A final inspection checks for any touch-up needed on hinges, screw points, or areas where the door contacts the frame. The homeowner walkthrough happens at this stage before the project is closed out.
Why spray application matters
The reason professional cabinet painting produces results that look fundamentally different from DIY is the application method. Brushing or rolling enamel onto a flat panel leaves texture — brush marks, roller stipple, or both. Spray application levels out completely as it atomizes into fine particles that settle flat. The result reads as smooth, consistent, and continuous across the entire surface.
Spray application also delivers more uniform film thickness, which affects durability. Brush-applied paint tends to be thicker in some areas and thinner in others, which can lead to uneven hardness and uneven wear. Properly sprayed enamel hardens uniformly.
What "factory finish" actually means
When contractors describe the goal as a "factory finish," they mean a surface that looks like it was finished in a controlled manufacturing environment — smooth, flat, consistent, and without visible application marks. New factory-finished cabinets are sprayed or lacquered by machines under controlled temperature and humidity conditions.
A professional field application can approach but not perfectly replicate factory conditions. That said, the difference is essentially invisible to anyone looking at the finished kitchen. The practical result is cabinets that look new, finished cleanly, and hold up to daily use.
How to prepare your kitchen before the crew arrives
Preparation on your end directly affects how efficiently the crew can work:
- Empty all cabinet interiors — dishes, pots, pantry items, everything that was behind the doors and drawers
- Clear the countertops completely — they'll be covered with protection material, but clean surfaces are faster to protect
- Remove everything from under the sink and below-counter areas that will be worked on
- Have your color decision finalized before the crew arrives — changing colors midway creates problems
- Plan to have the kitchen mostly off-limits during work; access to a bathroom, microwave, and alternative prep area makes the disruption manageable
- Arrange for pets to be elsewhere — spray application and paint odors are not appropriate for animals in the space
Timeline expectations
An average residential kitchen — say, 25–35 linear feet of cabinetry — takes two to four working days to complete properly, assuming the process includes degreasing, sanding, priming, and two spray topcoats with adequate dry time between each stage. Rushing drying time between coats, particularly in Miami's humidity, compromises the final result.
Larger kitchens, kitchens with island cabinets, or projects that include both upper and lower cabinets with a high door count will take longer. Your contractor should provide a specific timeline estimate based on the actual scope after evaluation.
Cure time in Miami's humidity
Paint "dry time" (when it's dry to the touch) and "cure time" (when it reaches full hardness) are very different. Most water-based cabinet enamels are dry to the touch in one to two hours under controlled conditions, but full hardness takes days to weeks — and Miami's humidity extends that timeline.
During the first week after a cabinet painting job, avoid scrubbing or using harsh cleaners on the new finish. Use soft cloths only. Full hardness — where the surface can handle normal kitchen wear — typically develops over two to four weeks. Your contractor will advise on the specific products used and their cure requirements.
Questions to ask your contractor before hiring
- What primer system do you use and why? A contractor who can explain their primer choice by substrate type knows what they're doing.
- Do you spray off-site or in place? Doors sprayed off-site or in a separate work area typically produce better results than in-place painting.
- What topcoat product are you using? Ask for brand and product line. A quality enamel formulated for cabinetry is different from interior latex paint.
- How many topcoats? Two is standard. One is not.
- How do you handle cleanup? Spray application requires masking everything in the kitchen that isn't being painted. Understand who handles that and how thoroughly.
To understand how OOH! approaches the full project process, visit How It Works. If you're weighing painting against replacement, read the cabinet painting vs. replacement comparison for a full breakdown.
Frequently asked questions
Can I use the kitchen while cabinets are being painted?
The kitchen is partially accessible during the project, but you won't be able to use the cabinets themselves. Plan for a few days without normal kitchen access. Having access to a microwave, refrigerator, and a bathroom sink is usually sufficient for the duration.
What colors work best for painted cabinets?
White, off-white, and soft gray remain the most popular choices for kitchen cabinetry because they read as clean and bright. In Miami's high-light environment, warm whites and greiges (gray-beige blends) tend to be more forgiving under strong natural light than pure cool whites, which can sometimes read as cold or harsh. Navy and dark greens have gained popularity as lower cabinet colors paired with lighter uppers.
Is there a strong smell during and after the project?
Water-based enamels have much lower VOC (volatile organic compound) content than older solvent-based cabinet finishes. You'll notice some odor during application and drying, but it dissipates relatively quickly — especially in a ventilated space. Running the kitchen range hood and opening nearby windows during and after application helps.
OOH! Editorial Team
Painting professionals in the Miami–Fort Lauderdale area